Remote server
Note: You must use a code editor or application that supports MCP servers, such as VS Code, Cursor, or Claude Code. For a complete list of supported MCP clients, see the Figma MCP Catalog.
The Figma MCP server brings Figma directly into your workflow by providing important design information and context to AI agents generating code from Figma design files.
MCP servers are part of a standardized interface for AI agents to interact with data sources using the Model Context Protocol.
Figma's remote MCP server makes it possible to connect directly to your Figma files without needing to install Figma's desktop app. You can capture live UI to Figma Design and bring design context into your workflow wherever you're working.
With the server enabled, you can:
- Generate designs from live UI: Use a supported MCP client to capture the live UI of your web app or site and send it to new and existing Figma files or your clipboard. (select clients only)
- Generate code from selected frames: Select a Figma frame and turn it into code. Great for product teams building new flows or iterating on app features.
- Extract design context: Pull in variables, components, and layout data directly into your IDE. This is especially useful for design systems and component-based workflows.
- Retrieve Make resources: Gather code resources from Make files and provide them to the LLM as context. This can help as you move from prototype to production application.
- Keep your design system components consistent with Code Connect: Boost output quality by reusing your actual components. Code Connect keeps your generated code consistent with your codebase.
To use this server, you'll need to sign in through Figma's OAuth authentication flow. Once set up, the remote server gives you a seamless way to access Figma data and integrate it with your tools.
Enabling the remote MCP server
This documentation covers the installation steps for several of our supported MCP clients. For a list of install guides for supported MCP clients, see the Guide to the Figma MCP server.
Follow the steps for your MCP client:
Claude Code
Using the Figma plugin for Claude Code (preferred):
The recommended way to set up the Figma MCP server in Claude Code is by installing the Figma plugin, which includes MCP server settings as well as Agent Skills for common workflows.
Run the following command to install the plugin from Anthropic's official plugin marketplace.
claude plugin install figma@claude-plugins-official
Learn more about Anthropic's Claude Code plugins and Agent Skills.
Manual setup for Claude Code:
-
Run the following command in your terminal to add the Figma MCP to Claude Code:
claude mcp add --transport http figma https://mcp.figma.com/mcptipTip: To make your Figma MCP server available across all projects, install it with the
--scope userflag:claude mcp add --scope user --transport http figma https://mcp.figma.com/mcpBy default, Claude Code uses local scope, so the server is only available in the current project. Applying the user scope means you don't have to reinstall the server for each of your projects.
-
Start a new instance of Claude Code.
-
Type
/mcpin Claude to manage your MCP Servers and select figma.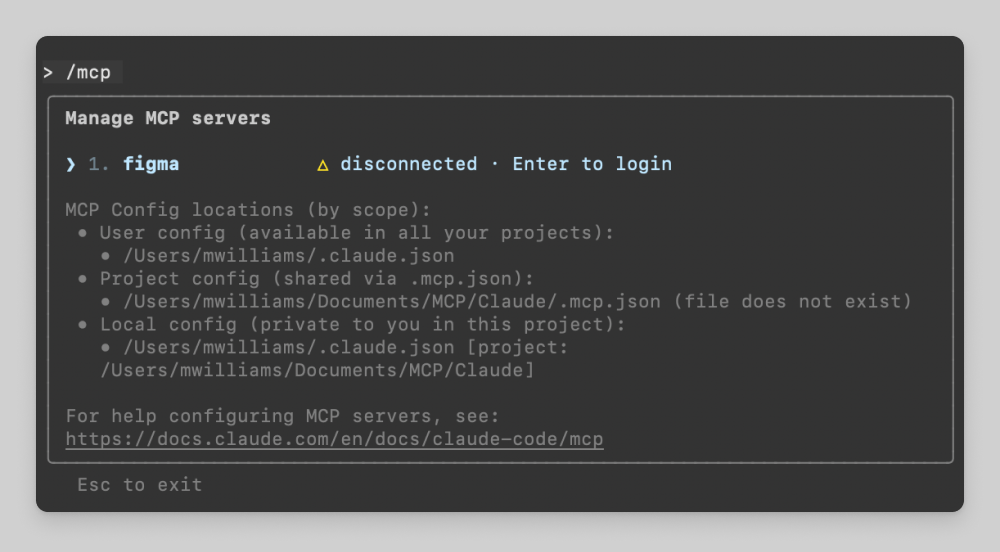
-
Select Authenticate.

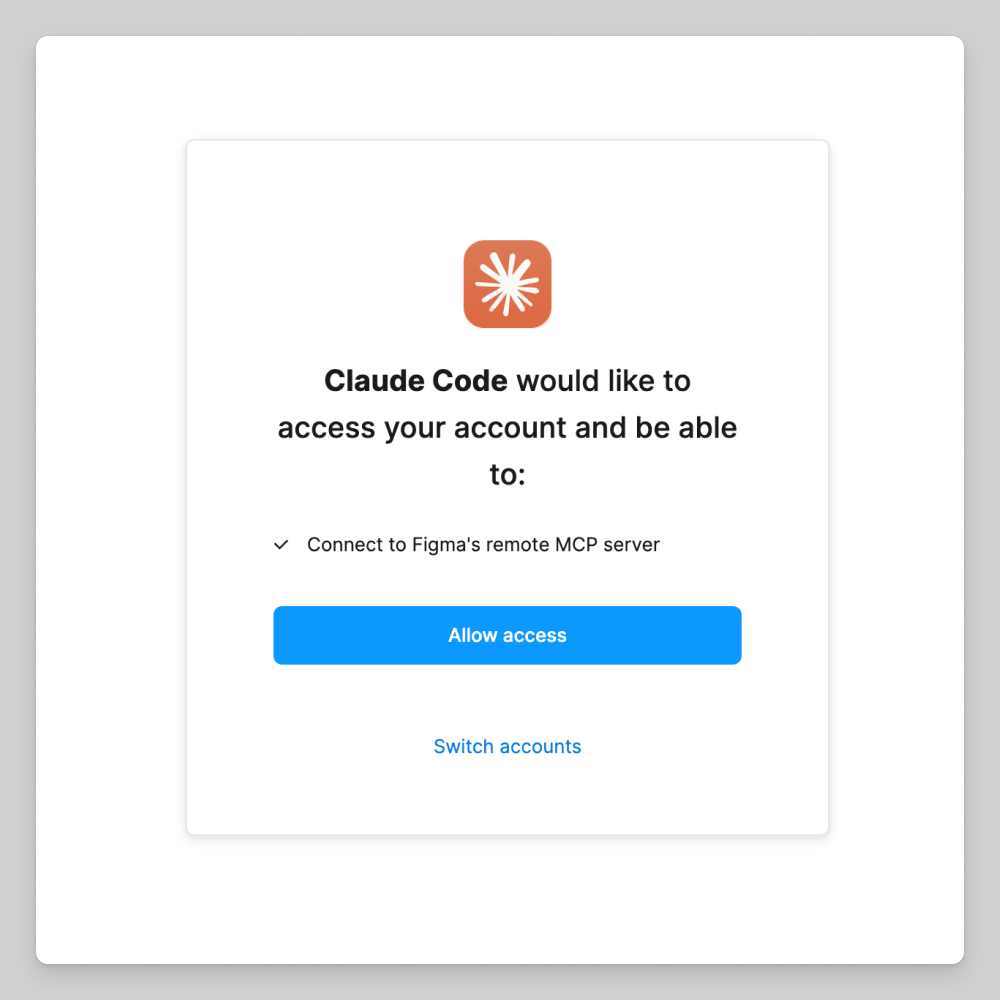
-
Click Allow Access.
-
Back in Claude code, you should see:
Authentication successful. Connected to figma -
Confirm your MCP Server is connected using
/mcpcommand in Claude Code.
-
Start prompting!
Codex
Using the Codex app (preferred):
-
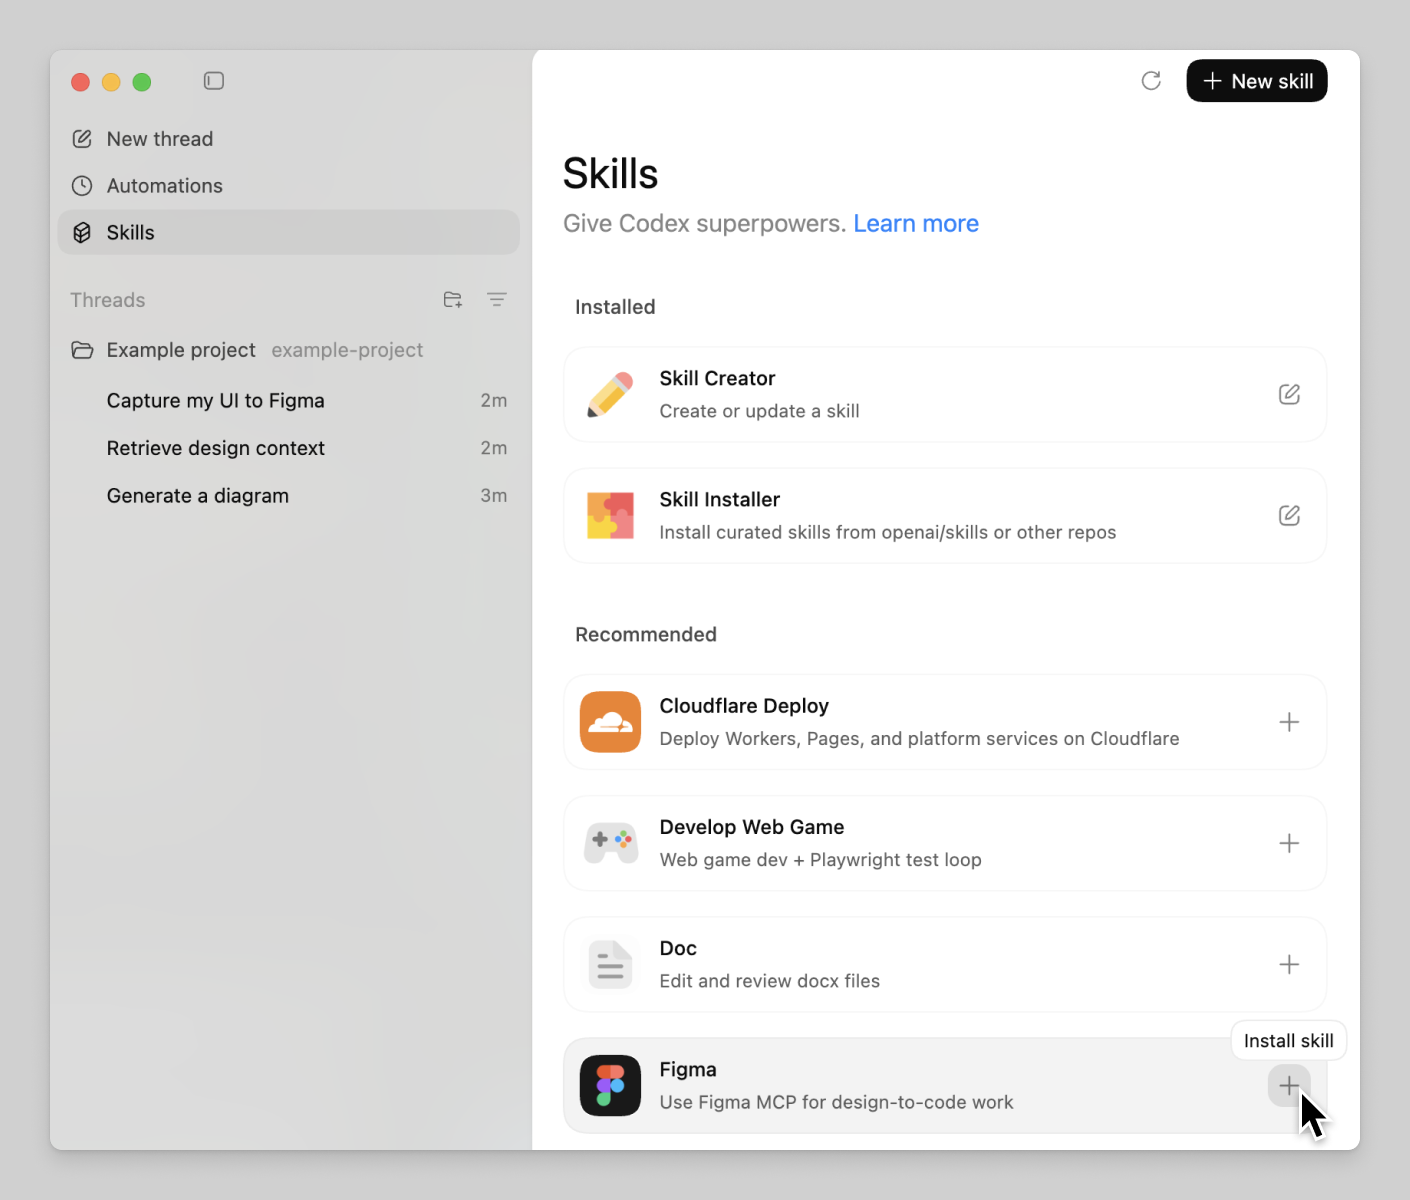
In the upper-left corner of the Codex app, click Skills.
-
In the list of skills, click + next to the Figma skill.
-
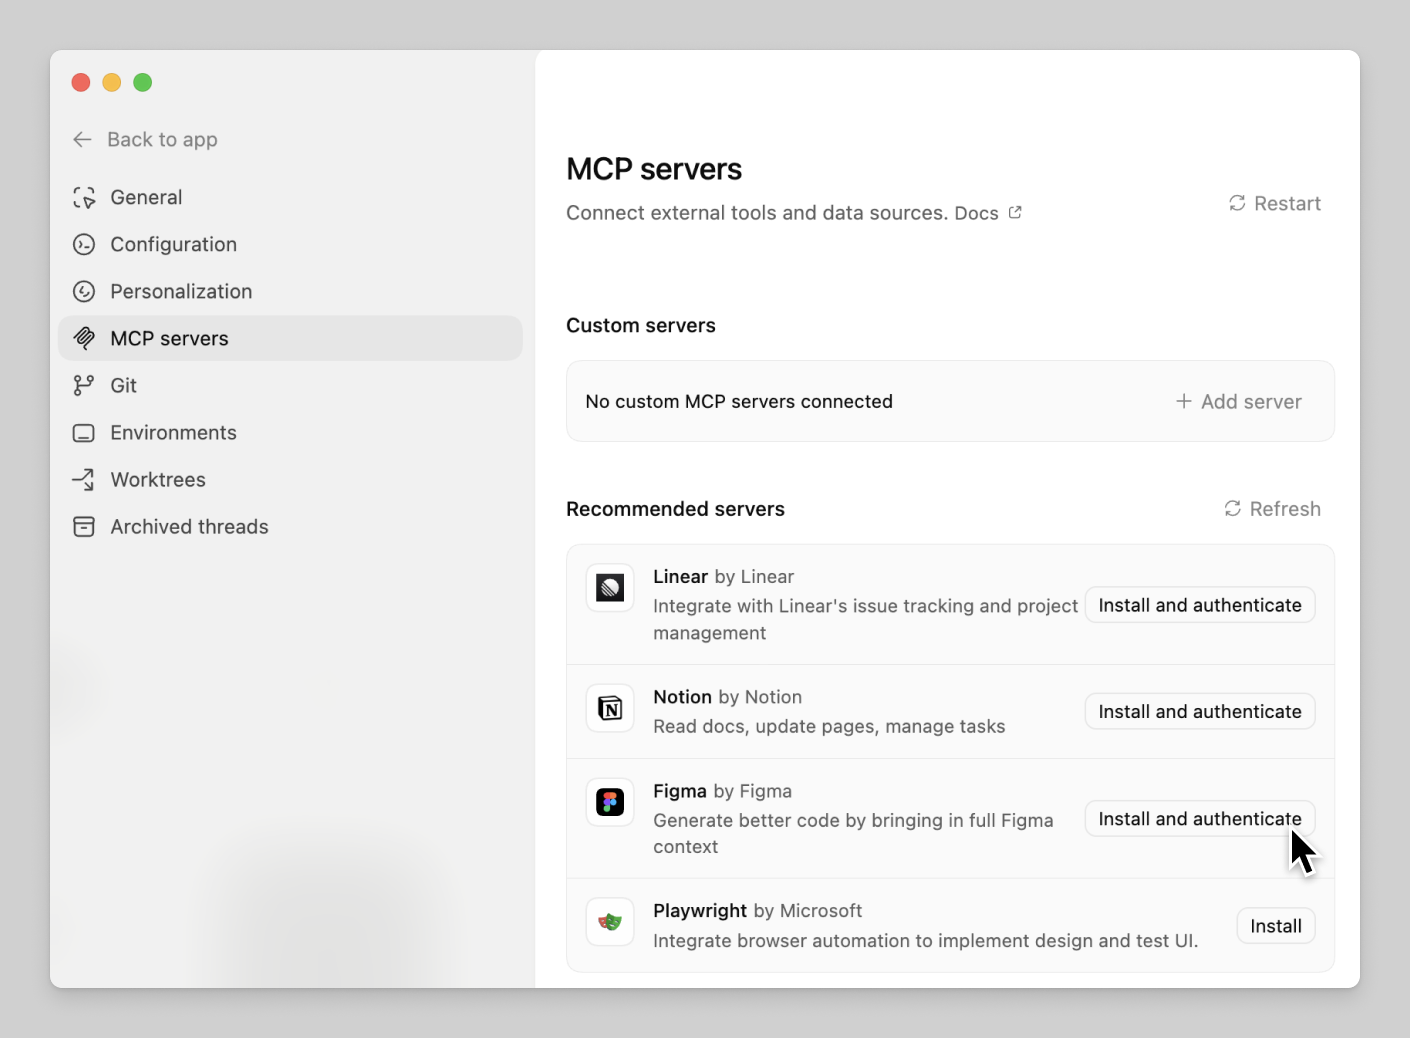
In the bottom left corner of the Codex app, click Settings, and then MCP servers.
-
In the list of recommended servers, click Install and authenticate for the Figma server. When you're prompted, authorize the server.
-
Start prompting Codex to use the tools provided by the Figma MCP server.
Manual setup for Codex:
-
In your terminal, run the following command:
codex mcp add figma --url https://mcp.figma.com/mcpWhen prompted, authenticate the server.
-
Start prompting Codex to use the tools provided by the Figma MCP server.
Cursor
Using the Figma plugin for Cursor (preferred):
The recommended way to set up the Figma MCP server in Cursor is by installing the Figma plugin, which includes MCP server settings as well as Agent Skills for common workflows.
Install the plugin by typing the following command in Cursor's agent chat:
/add-plugin figma
The plugin includes:
- MCP server configuration for the Figma MCP server
- Skills for implementing designs, connecting components via Code Connect, and creating design system rules
- Rules for proper asset handling from the Figma MCP server
Manual setup for Cursor:
- Click the Figma MCP server deep link. This will open the MCP configuration in Cursor.
- Click Install under 'Install MCP Server?'

- Click Connect next to Figma to begin the authentication process.
- Click Open.
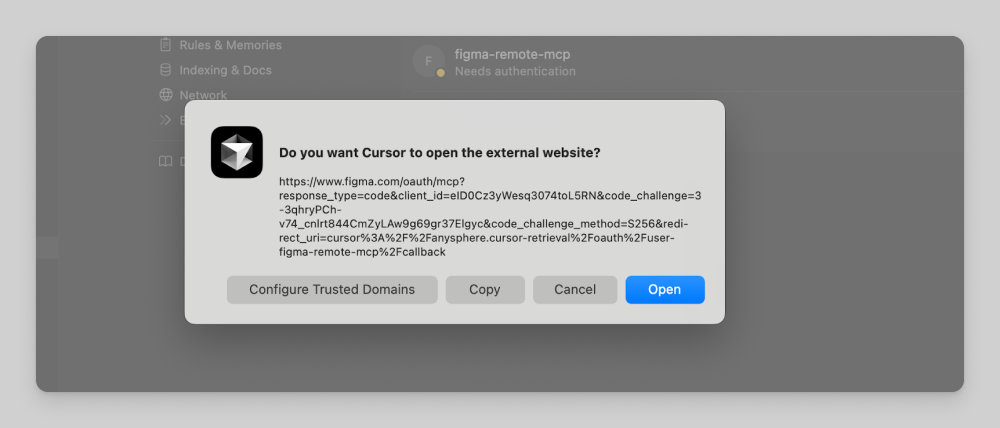
- Allow access
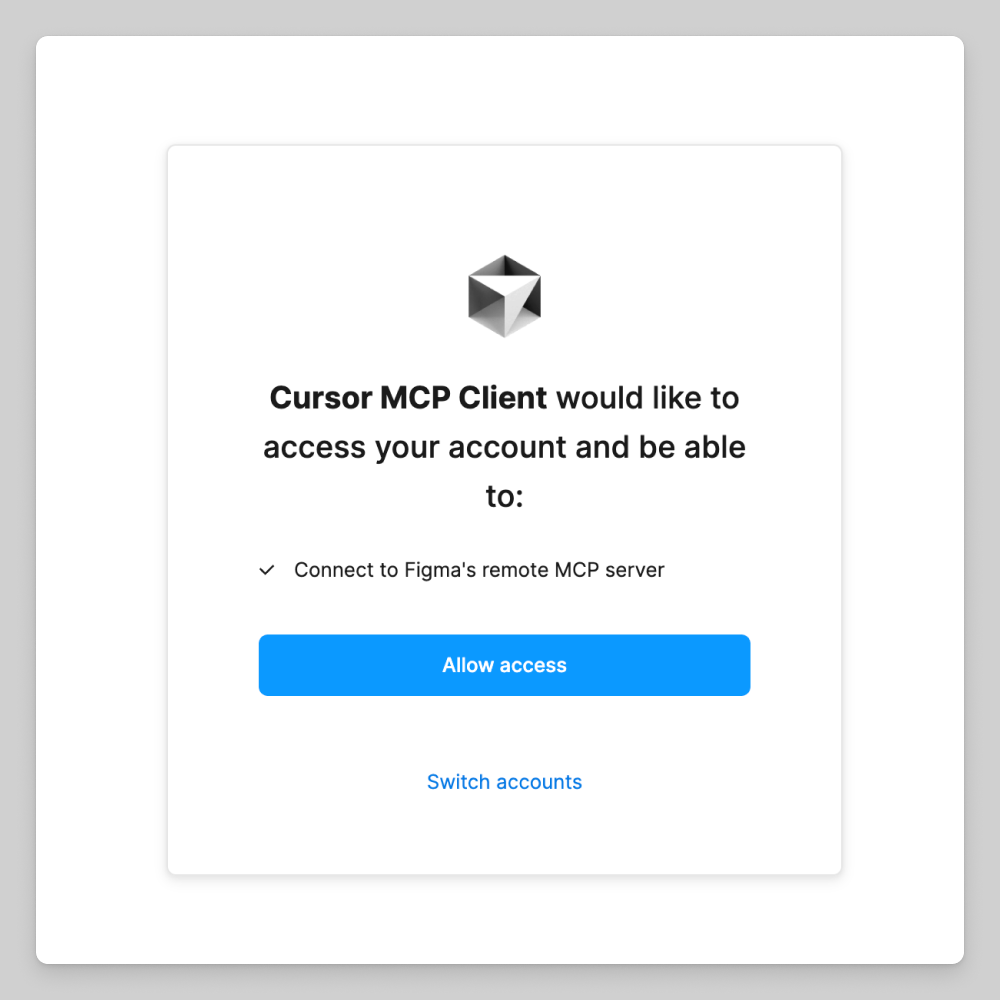
- Start prompting!
VS Code
-
Use the shortcut ⌘ Shift P, and then:
- Select MCP: Open User Configuration to use the Figma MCP server globally.
- Select MCP: Open Workspace Folder MCP Configuration to use the Figma MCP server just inside your current workspace.
noteNote: If it doesn't exist already, you're prompted to create an
mcp.jsonfile. -
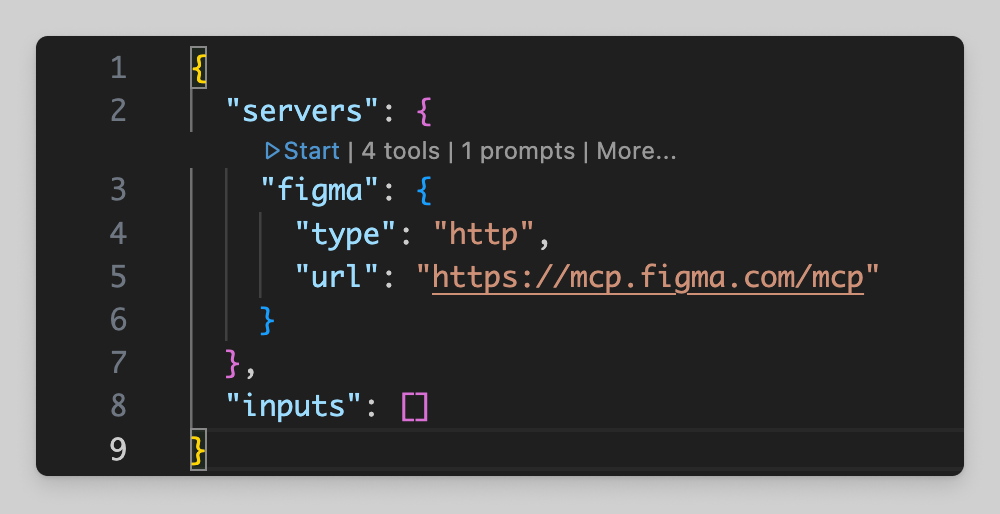
In the
mcp.jsonfile, paste the following code:{ "inputs": [], "servers": { "figma": { "url": "https://mcp.figma.com/mcp", "type": "http" } } } -
Click on Start (above the MCP server name).
-
Allow Access.
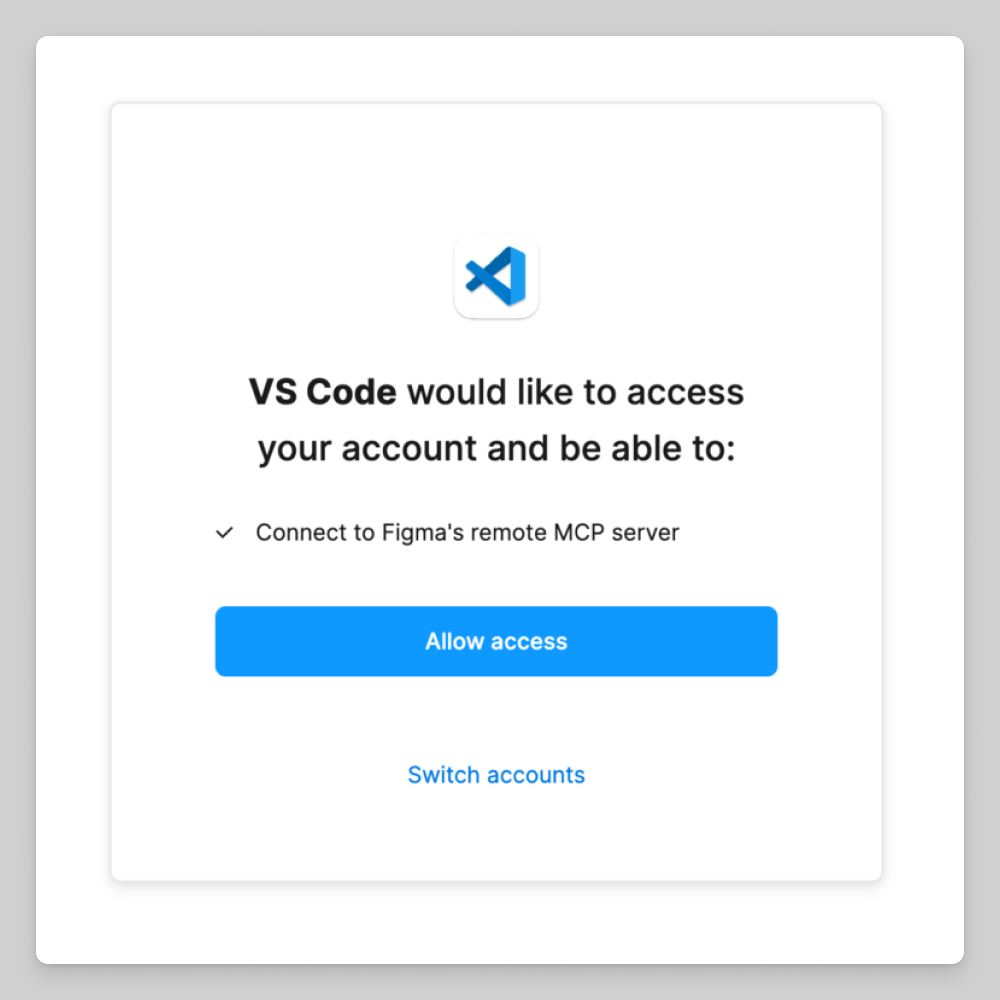
-
Start prompting!
Using the MCP server
The MCP server introduces a set of tools that help LLMs bring your live UI to Figma Design and get design context from Figma. Once connected, you can start prompting your MCP client.
For a complete list of tools and examples, see Tools and Prompts.
Example: Send UI to Figma
Note: Currently for use with select MCP clients. See Code to canvas.
Sending the live UI of your web app or site to Figma is done through conversation with your MCP client:
- Prompt your MCP client: "Start a local server for my app and capture the UI in a new Figma file.”
- Follow the steps your client provides. Your client will open a browser window for you, or give you a link to follow.
- Use the capture toolbar to capture pages, elements, and states of your web app or site.
- Let your client know when you're finished. Your client will give you a link to open the Figma file that was created.
Example: Get design context
Getting design context and code from files is link-based. To use it:
-
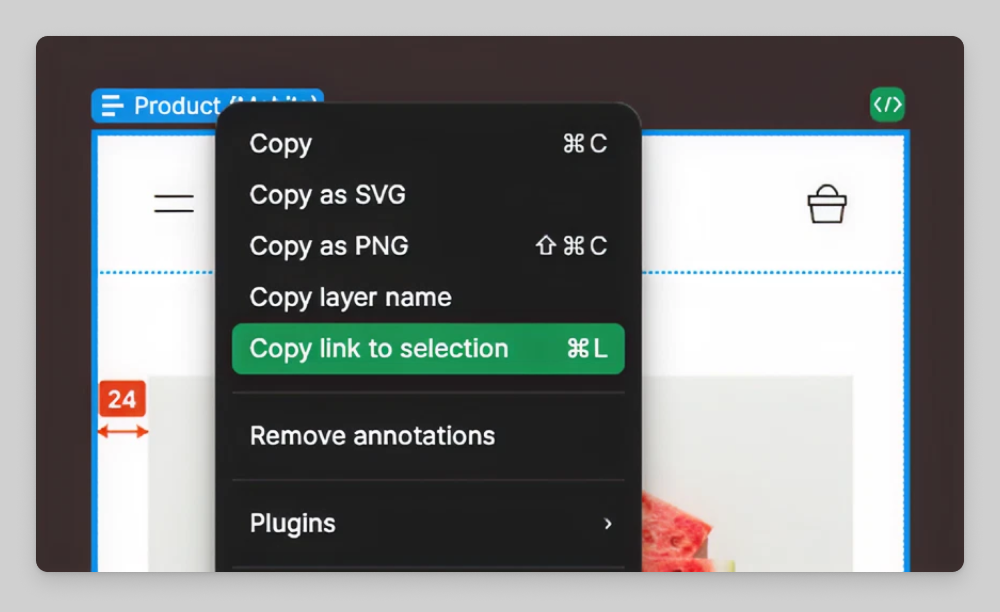
Copy the link to a frame or layer in Figma
-
Prompt your client to help you implement the design at the selected URL
Note: Your client won't be able to navigate to the selected URL, but it will extract the node-id that is required for the MCP server to identify which object to return information about.
Improving the MCP server output
For the best output, we recommend setting up rules to guide the agent. To get you started, we have some helpful example rules.